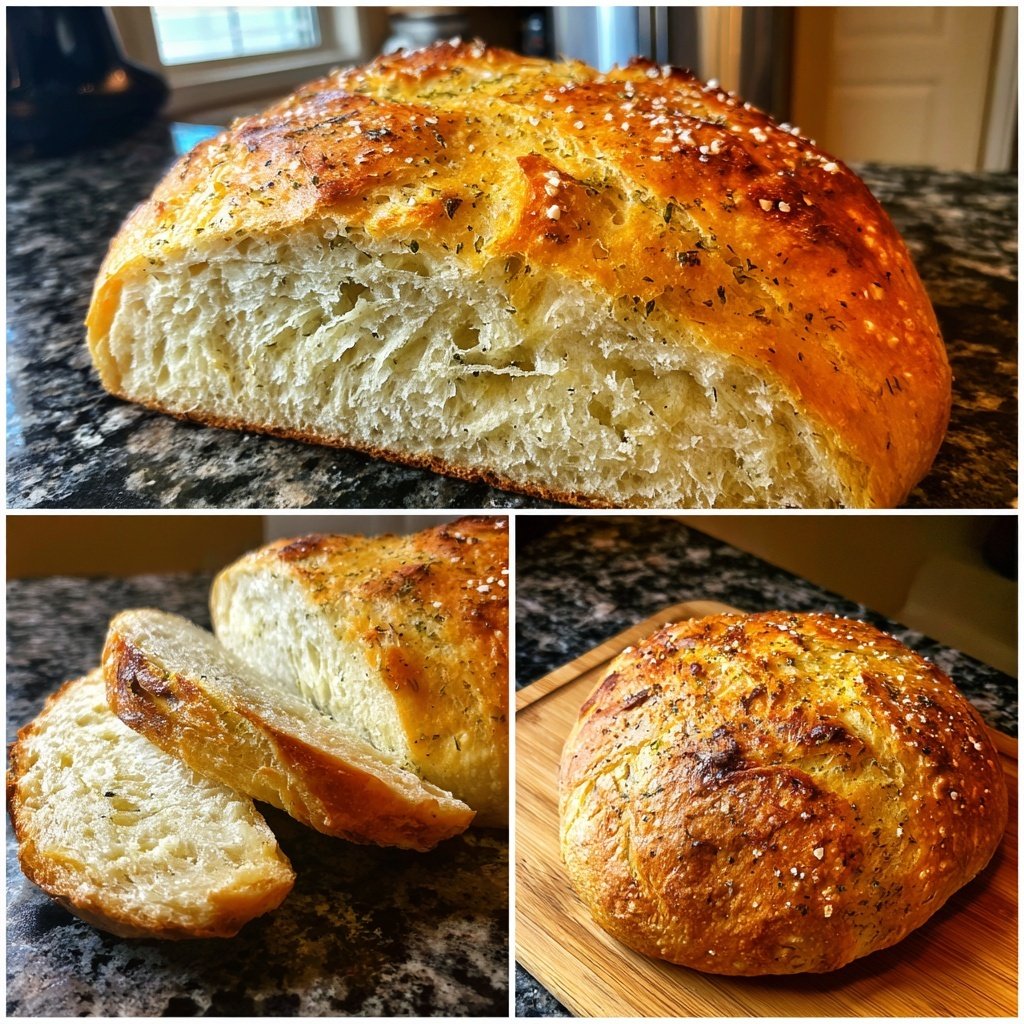
No Knead Dutch Oven Bread
Highlighted under: Golden Treats
I absolutely love baking my own bread, and this No Knead Dutch Oven Bread recipe has completely transformed my experience in the kitchen. With just a handful of ingredients and minimal effort, I can create a beautifully crusty loaf that rivals any artisan bread from a local bakery. The secret lies in the long fermentation process, which develops deep flavors without the need for kneading, making it incredibly approachable for beginners. I can't wait to share this method with you so you can enjoy the warm, fresh bread aroma filling your home.
My journey with bread baking began during the pandemic when I found myself in desperate need of comfort food. After many trials and errors, I discovered the magic of no-knead bread. This method not only saves me time but also helps in achieving that delightful crust and chewy texture we crave in a good loaf. Plus, using a Dutch oven traps steam, which is critical in creating that perfect crust.
One tip I've learned is to let the dough rest overnight. This slow fermentation allows the flavors to deepen and results in a more flavorful bread without any laborious kneading. I've been amazed at how such simple ingredients can come together to produce something truly special!
Why You'll Love This Bread
- Incredibly easy to make with minimal hands-on time
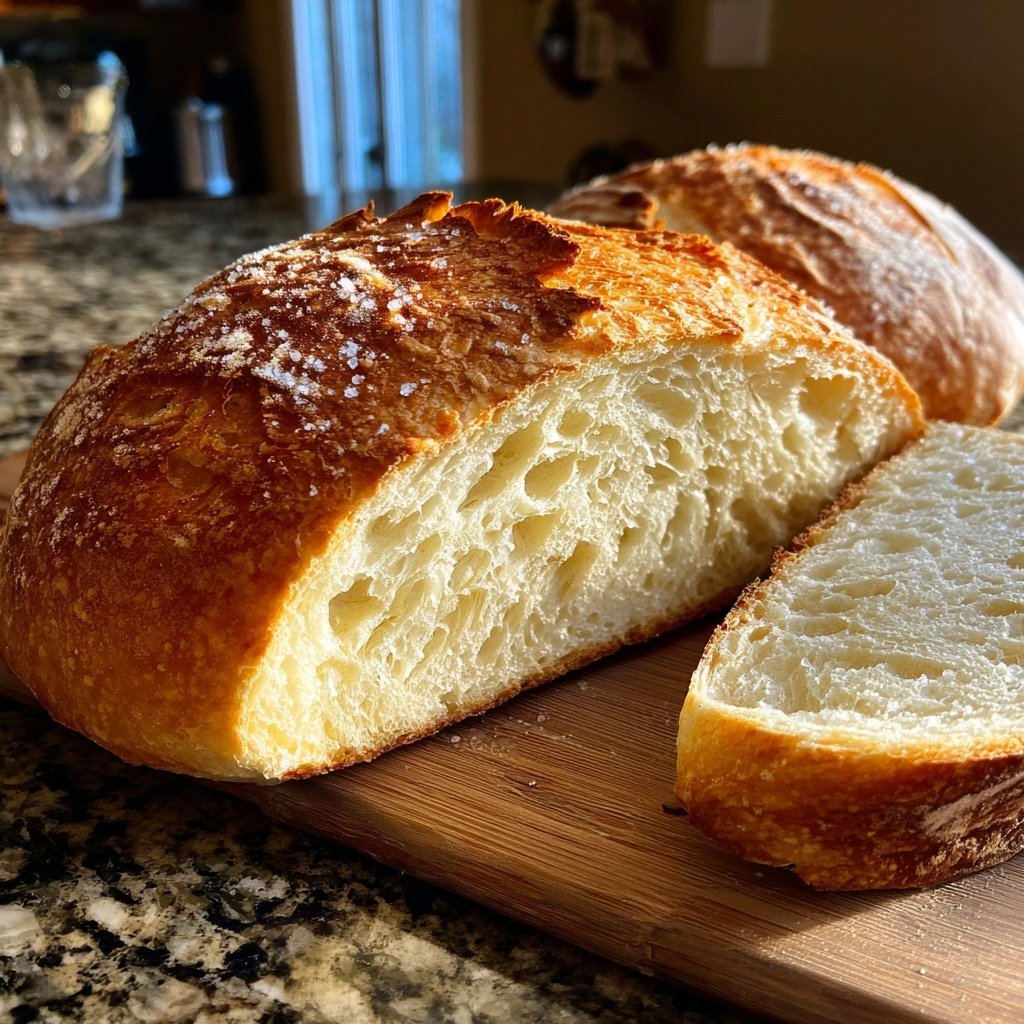
- Crusty exterior with a soft and fluffy interior
- Perfect for sandwiches, toasting, or enjoying with butter
The Power of Long Fermentation
The long fermentation process is key to achieving the complex flavors that define No Knead Dutch Oven Bread. Allowing the dough to rise for 12 to 18 hours not only enhances the taste but significantly improves the texture. As the dough ferments, naturally occurring yeast and bacteria develop, resulting in a beautiful tang that elevates the bread. I often find that a longer rise yields a better crumb structure, which means a more airy loaf with delightful pockets of air throughout.
If you're worried about timing, don't stress! You can adjust the length of the rise based on your schedule. A shorter rise of around 12 hours will create a milder flavor, while allowing it to rise closer to 18 hours will yield a more pronounced taste. Just remember to keep the bowl covered in a warm spot to promote effective fermentation; a slightly warm kitchen is ideal.
Perfecting the Bake
Baking this bread in a Dutch oven is essential to achieving that signature crusty exterior. The Dutch oven traps steam during baking, creating a humid environment that helps the bread rise beautifully before it forms a crust. Preheating the oven with the Dutch oven inside ensures that the bread starts cooking immediately upon contact, forming that gorgeous, golden-brown crust that everyone loves. I recommend using a heavy cast iron Dutch oven for best results.
When it comes to the final bake, keep an eye on your loaf during the last 15 minutes after removing the lid. You want it to turn a deep golden hue and sound hollow when tapped on the bottom. If you find the bread isn't browning enough, consider leaving it in the oven for an extra few minutes, but watch carefully to prevent burning.
Storage and Variations
Once your No Knead Dutch Oven Bread is baked and cooled, it's essential to store it properly to maintain its quality. Keep the bread wrapped in a clean kitchen towel at room temperature for up to three days. For longer storage, slice the bread and place it in an airtight container or freezer bag, where it can last for up to three months. When you’re ready to enjoy it again, simply reheat it in the oven at 350°F (175°C) for about 10 to 15 minutes, and it will taste almost freshly baked!
This recipe is incredibly versatile! You can experiment by adding different ingredients to the dough. For a savory twist, try mixing in herbs like rosemary or garlic powder, or for a sweet touch, consider folding in dried fruits or nuts before the second rise. Each variation can transform your bread experience, allowing you to create something uniquely delicious every time.
Ingredients
Gather these simple ingredients to get started on your delicious loaf.
Ingredients
- 3 cups all-purpose flour
- 1 1/4 teaspoons salt
- 1/2 teaspoon instant yeast
- 1 1/2 cups warm water
Mix these ingredients and let the magic happen!
Instructions
Follow these easy steps to bake your own bread.
Mix the Dough
In a large bowl, whisk together the flour, salt, and yeast. Add warm water, stirring until a sticky dough forms. Cover with plastic wrap and let rise at room temperature for 12 to 18 hours.
Shape and Preheat
After the dough has risen, turn it out onto a floured surface. With floured hands, shape it into a ball. Let it rest for 15 minutes. Meanwhile, preheat your oven to 450°F (232°C) with a Dutch oven inside.
Bake the Bread
Carefully remove the heated Dutch oven, and place your dough inside. Cover with the lid and bake for 30 minutes. Then, remove the lid and bake for an additional 15 minutes until golden brown.
Cool and Enjoy
Once baked, transfer the bread to a wire rack to cool. Slice and enjoy your freshly made no-knead bread!
Enjoy your homemade No Knead Dutch Oven Bread as a side or on its own!
Pro Tips
- For more flavor, consider adding herbs or cheese to the dough before the first rise.
Common Mistakes and Troubleshooting
One common issue when making No Knead bread is underproofing, which can lead to dense bread. Ensure that your dough has fully doubled in size before baking. If it's still small when you go to shape it, give it more time to rise. On the flip side, overproofing can also be problematic; if your dough becomes too slack and doesn't hold a shape, it's best to start over, as the gluten structure may have weakened too much.
Another potential pitfall is the dough being too dry. If your dough isn't sticky after mixing, gradually add more water in small increments during the initial mixing phase. The hydration level is crucial for a soft interior, so don’t be afraid to embrace that stickiness!
Ingredient Substitutions
While all-purpose flour works beautifully in this recipe, you can experiment with bread flour for a chewier texture due to its higher protein content. Alternatively, for a gluten-free version, consider a gluten-free flour blend specifically formulated for bread. Just remember to check for added ingredients that may require adjustments in water content.
If you’re looking to cut down on salt, reducing the amount to 1 teaspoon will work without drastically affecting the flavor. Also, if you don’t have instant yeast, active dry yeast can be substituted; just be sure to activate it in warm water for about 10 minutes before mixing with the flour.
Questions About Recipes
→ Can I use whole wheat flour?
Yes, you can replace part of the all-purpose flour with whole wheat flour, but it may affect the texture.
→ What if I don’t have a Dutch oven?
You can use any oven-safe pot with a lid, or bake the bread on a baking stone with steam.
→ How can I store the bread?
Store in a paper bag at room temperature for a few days or freeze for longer storage.
→ Can I add mix-ins like nuts or dried fruits?
Absolutely! Just fold them into the dough during the shaping step.
No Knead Dutch Oven Bread
What You'll Need
Ingredients
- 3 cups all-purpose flour
- 1 1/4 teaspoons salt
- 1/2 teaspoon instant yeast
- 1 1/2 cups warm water
How-To Steps
In a large bowl, whisk together the flour, salt, and yeast. Add warm water, stirring until a sticky dough forms. Cover with plastic wrap and let rise at room temperature for 12 to 18 hours.
After the dough has risen, turn it out onto a floured surface. With floured hands, shape it into a ball. Let it rest for 15 minutes. Meanwhile, preheat your oven to 450°F (232°C) with a Dutch oven inside.
Carefully remove the heated Dutch oven, and place your dough inside. Cover with the lid and bake for 30 minutes. Then, remove the lid and bake for an additional 15 minutes until golden brown.
Once baked, transfer the bread to a wire rack to cool. Slice and enjoy your freshly made no-knead bread!
Extra Tips
- For more flavor, consider adding herbs or cheese to the dough before the first rise.
Nutritional Breakdown (Per Serving)
- Calories: 200 kcal
- Total Fat: 1g
- Saturated Fat: 0g
- Cholesterol: 0mg
- Sodium: 400mg
- Total Carbohydrates: 42g
- Dietary Fiber: 2g
- Sugars: 0g
- Protein: 6g