No Knead Dutch Oven Bread
Highlighted under: Golden Treats
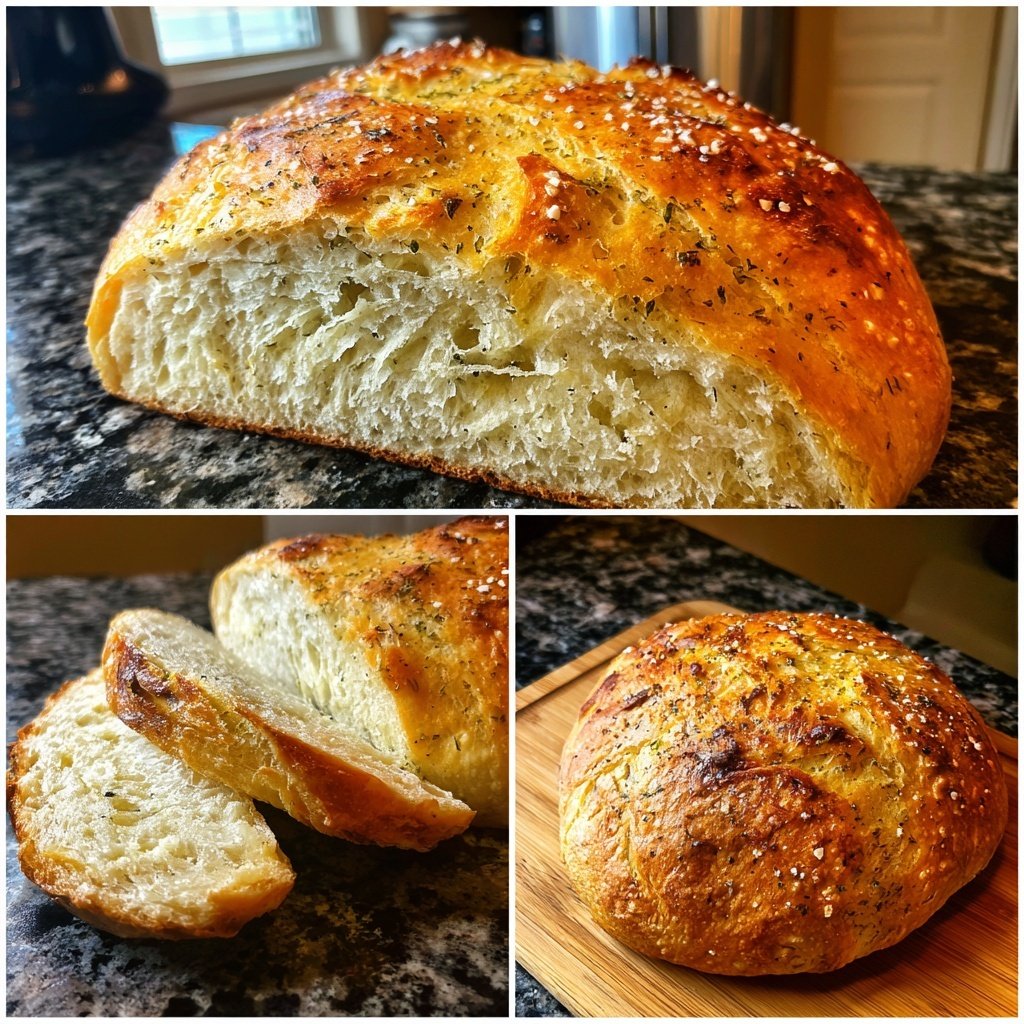
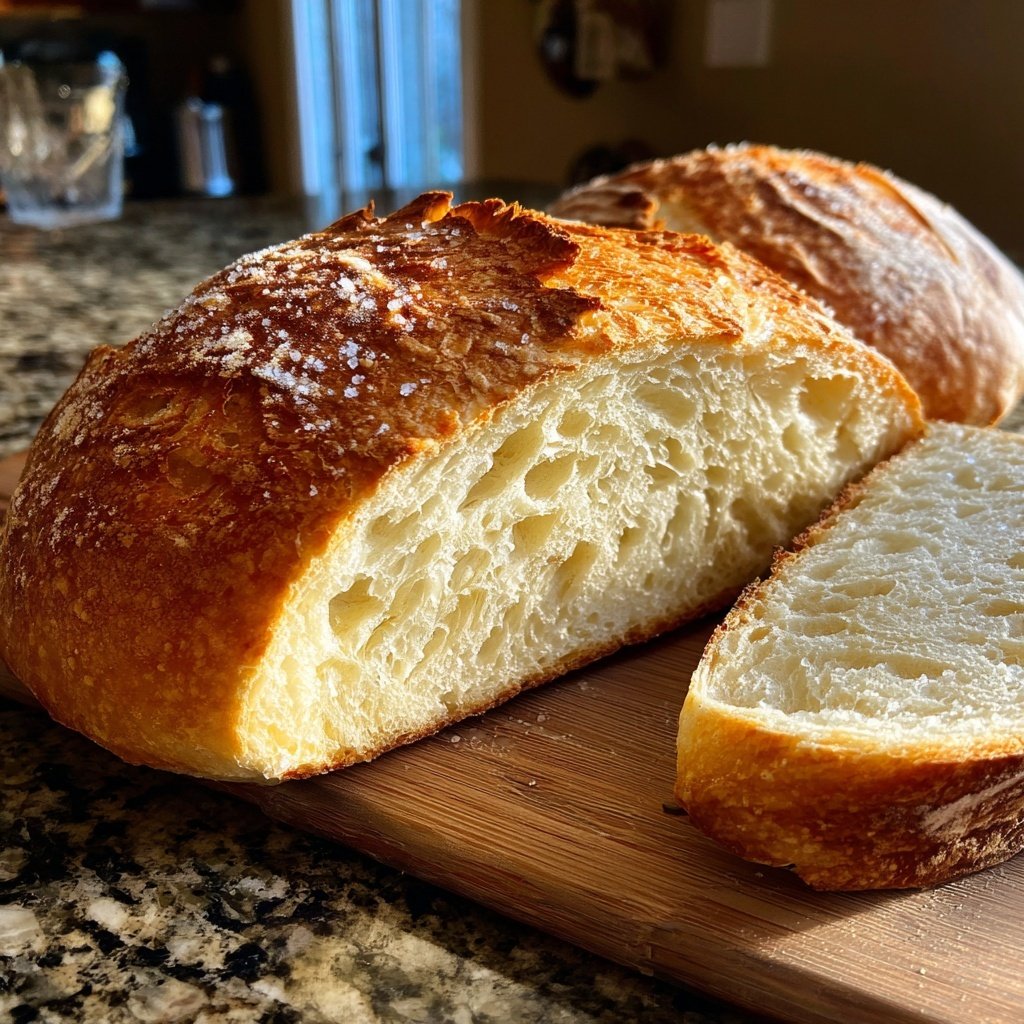
I love the simplicity and perfection of this No Knead Dutch Oven Bread recipe. With just a few basic ingredients, this bread comes together with minimal effort, allowing me to enjoy freshly baked bread without the hassle of kneading. The crust is beautifully crispy, while the interior remains soft and airy, making it perfect for sandwiches or simply slathered with butter. Trust me, once you try it, you won’t want to go back to store-bought bread again!
When I first stumbled upon the method of making No Knead Bread, I was intrigued by its ease. After experimenting with it several times, I realized that the key is in the long fermentation process, which allows the bread to develop flavor without the labor of kneading. Letting it sit overnight makes a world of difference, resulting in a much more complex taste.
The crispy crust and airy interior are best achieved by using a Dutch oven. This method traps steam, creating the perfect environment for the dough to rise and develop its signature texture. I love serving it warm straight from the oven, often with a drizzle of olive oil.
Why You Will Love This Recipe
- Simple ingredients yield incredible flavor
- Perfectly crusty exterior paired with soft interior
- Minimal hands-on time with maximum satisfaction
Understanding the Ingredients
The key to this No Knead Dutch Oven Bread lies in its simple ingredients. All-purpose flour serves as the backbone, providing structure and a good rise due to its gluten content. If you’re looking for a heartier loaf, consider using whole wheat flour. Just keep in mind that it may require a little extra hydration, so adjust the water slightly if needed.
Instant yeast is another crucial element; it activates quickly, allowing the dough to rise without the long waits of traditional methods. This eliminates the need for proofing separately. If you only have active dry yeast on hand, you can substitute it; however, allow the dough to sit for longer to ensure proper fermentation and flavor development.
Perfecting the Dough Handling
When shaping the dough, be gentle to preserve the air bubbles created during fermentation. This is what gives the bread its light texture. A bench scraper can be helpful here, allowing you to handle the sticky dough without adding too much flour, which can lead to a denser loaf. After shaping, resting for around 15 minutes is essential; this allows the gluten to relax, making it easier to place in the hot Dutch oven without losing its shape.
For the best results, ensure your Dutch oven is properly preheated. This step is vital as it creates a steamy environment that helps the bread rise and develop that coveted crispy crust. When you place the dough in the preheated oven, you should hear a gentle sizzle. If you don’t hear this, the pot may not be hot enough, which can result in poor oven spring.
Storing and Serving Your Bread
Once your bread has cooled, proper storage is important for maintaining freshness. Wrap it in a clean kitchen towel to allow airflow while preventing the crust from becoming too hard. For longer storage, consider freezing the sliced bread. Place wax paper between slices to make it easier to pull out individual servings. When ready to enjoy, toast slices directly from the freezer, or let them thaw at room temperature.
This No Knead Bread shines on its own, but it's versatile for various serving options. Try pairing it with dips or spreads like hummus or avocado. Additionally, it makes excellent sandwiches or toast for breakfast. For a unique twist, add herbs or garlic to the dough for flavor variations. Feel free to experiment with mix-ins like cheese, olives, or nuts to tailor it to your taste.
Ingredients
Gather the following ingredients to make your own No Knead Dutch Oven Bread.
Ingredients
- 3 cups all-purpose flour
- 1 1/4 teaspoons salt
- 1/2 teaspoon instant yeast
- 1 1/2 cups warm water
Make sure to measure your ingredients accurately for the best results!
Instructions
Follow these simple steps to bake your bread.
Mix the Dough
In a large bowl, combine the flour, salt, and instant yeast. Stir to mix, then gradually add the warm water until a cohesive dough forms.
Let it Rise
Cover the bowl with plastic wrap and let it sit at room temperature for 12 to 18 hours, until the surface is bubbly and the dough has doubled in size.
Shape the Dough
Lightly flour a work surface and turn the dough out onto it. With floured hands, gently shape the dough into a ball. Let it rest for about 15 minutes.
Preheat the Dutch Oven
About 30 minutes before baking, place a Dutch oven (with the lid on) in the oven and preheat to 450°F (230°C).
Bake the Bread
Carefully remove the hot Dutch oven. Place the dough inside, cover with the lid, and bake for 30 minutes. Remove the lid and bake for an additional 15 minutes for a golden crust.
Cool and Enjoy
Once baked, remove the bread from the pot and let it cool on a wire rack before slicing. Enjoy your delicious homemade bread!
Remember to let the bread cool completely before slicing for the best texture!
Pro Tips
- For extra flavor, consider adding herbs or spices to the dough before the first rise.
Troubleshooting Common Issues
If you find that your bread is too dense, it could be due to insufficient rising time or too little water. Always ensure your dough has doubled in size and appears bubbly before baking. If the crust isn’t as crispy as you’d like, a quick fix is to remove the lid for the last few minutes of baking, allowing the steam to escape and promoting a better crust.
On the other hand, if your bread has a burnt bottom, you may need to lower the baking temperature. Every oven behaves differently, so consider using an oven thermometer for accuracy. Placing the Dutch oven on a higher rack can also help prevent over-browning while ensuring even baking.
Scaling the Recipe
If you're looking to make larger batches, this recipe scales beautifully! Doubling the ingredients allows for two loaves, but you’ll want to ensure adequate rising space. Use a larger bowl to accommodate the increased volume, and separate the dough into two pieces after the first rise for shaping.
Conversely, if you want to make a smaller loaf, you can easily halve the recipe. Take care to monitor the rising time, as smaller amounts may ferment faster. Whichever size you choose, the basic principles remain the same, allowing for flexibility while still creating that delectable crust and airy crumb.
Questions About Recipes
→ Can I use whole wheat flour?
Yes, whole wheat flour can be used, but it may alter the texture slightly. You might want to combine it with all-purpose flour for the best results.
→ How do I store leftover bread?
Store bread in a paper bag at room temperature for a couple of days, or wrap it tightly in plastic and freeze for longer storage.
→ What if my dough doesn't rise?
Make sure your yeast is fresh and that you're using warm water, as temperature affects yeast activation. A longer rising time may help do the trick.
→ Can I bake this bread in a different type of pot?
Yes, as long as it is oven-safe and has a lid to trap steam, you can use a different pot, but results may vary.
No Knead Dutch Oven Bread
What You'll Need
Ingredients
- 3 cups all-purpose flour
- 1 1/4 teaspoons salt
- 1/2 teaspoon instant yeast
- 1 1/2 cups warm water
How-To Steps
In a large bowl, combine the flour, salt, and instant yeast. Stir to mix, then gradually add the warm water until a cohesive dough forms.
Cover the bowl with plastic wrap and let it sit at room temperature for 12 to 18 hours, until the surface is bubbly and the dough has doubled in size.
Lightly flour a work surface and turn the dough out onto it. With floured hands, gently shape the dough into a ball. Let it rest for about 15 minutes.
About 30 minutes before baking, place a Dutch oven (with the lid on) in the oven and preheat to 450°F (230°C).
Carefully remove the hot Dutch oven. Place the dough inside, cover with the lid, and bake for 30 minutes. Remove the lid and bake for an additional 15 minutes for a golden crust.
Once baked, remove the bread from the pot and let it cool on a wire rack before slicing. Enjoy your delicious homemade bread!
Extra Tips
- For extra flavor, consider adding herbs or spices to the dough before the first rise.
Nutritional Breakdown (Per Serving)
- Calories: 200 kcal
- Total Fat: 1g
- Saturated Fat: 0g
- Cholesterol: 0mg
- Sodium: 115mg
- Total Carbohydrates: 42g
- Dietary Fiber: 2g
- Sugars: 0g
- Protein: 6g